How To Apply Eye Shadow For Beginners – Step By Step Guide
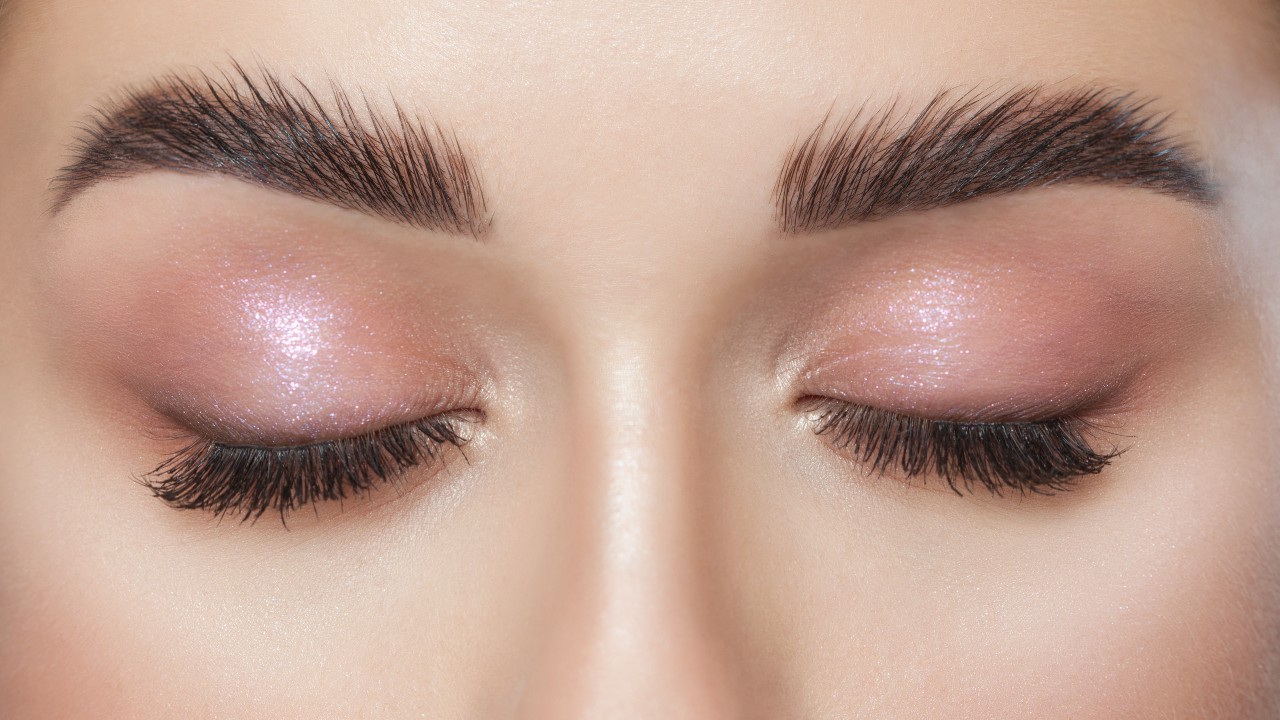
This blog is all about how to apply eye shadow for beginners, if you do not know how to apply eye shadow you don’t know where to start but you really really want to learn then this is the place for you.
To apply eye shadow you need proper eye shadow brush. If you are doing eye shadow for the very first time and you don’t know which brush you should choose then try all kind of brushes. Make sure that your brushes are nice and soft. After trying different brushes you can choose which brush is better for your eye shape. For lightest eye shadow shade use bigger brushes and for darker shadow use smaller brush.

Table of Contents
Step 1: Prime your eyes
First thing you should do is prepare your eyelids. You should never go in with just eye shadow on bare naked because it is going to look like mess, patchy, uneven. So make sure to prime your eyes just like you prime your face.
There is couple different ways you can prime your eyes:
1. You can use an eye shadow primer. With eye shadow primers you don’t have to set them with any powders, they set themselves. They leave your eyelids matte and smooth to create an even surface for your eye shadow.
2. You can also use a concealer. You should use matte finish concealer because if you use dewy concealer it will have more oils and your eye shadow will look catchy and muddy.

If you use a concealer you don’t have to put on a whole bunch of concealer because then your eye is going to get really thick and crease, so be careful with it. You should apply a light dab of concealer on your eyes and then take your finger and apply it to all over the lid. If anywhere that you can’t reach then use a brush to blend it in.
Take large fluffy brush to bring in concealer in the inner corner area. Also blow it to the outer corner and make sure everything is nice and smooth.
Step 2: Translucent powder
Then set your eyes with the translucent setting powder. Because it is light, it will make your eyelids look even and smooth and it’s not going to add too much color or base to your eye. So take a little bit powder on your brush and apply it all over the lid.

Step 3: First shade
Now take your eye shadow palette and take transition shade like rose color. Take it in a fluffy brush because it will give you an overall even blown out blend. Apply the transition shade right above the crease. Don’t apply it right in the crease because that’s where the crease color will go.
Make sure your hand is way to the back when you use your transition shape. Then lightly go over right above the crease and it is going to be our background color. Use very soft motions back and forth, you can even go in these large circular motions and it’s on your transition area.

Tip:
1. transition shade :Transition shade is basically the background of your eye shadow. It will help you to create a smooth gradient into the deeper shades from the lightest shades. So, the transition shade is going to be a few shades darker than your skin color. If you are in doubt about your transition color then you can take bronze color.
2. when you pick up the color that you want tap your brush two to three times. Don’t use all that eye shadow on your eye because it will look too heavy.
3. How you hold your brush makes a huge difference on how you apply your shadows. So make sure that your hand is further back. Because when you have less control of your brush, Your brush can freely flow. When you have your hand too close it puts down a lot of pressure and you’re going to get a lot of pigment in a one focused area, and you don’t need that right now you will only need that for deeper shades.
Step 4: Second shade

Now it’s time for the actual crease of your eyes. Now take one of the crease shades which is going to be deeper than your transition shade. Now do the same thing, pick up the shade and tap off the excess. Start with just a little bit of shadow and go back and forth into the crease, what you are doing is adding depth to your crease. You can also apply it in circular motion to blend out your line.
Now move your hand to the middle of the brush because you have to put a little bit more pressure into the crease. This color will get a little deeper. At some points where you want the color to be more concentrated, press down right into the socket, wiggling your brush back and forth. As you get further lift your hand and go with circular motions really softly in the crease. So it will give you a nice blend.
If you feel like you are having trouble blending that crease area then again take your fluffy brush, don’t add any more color to it. After that go over the outer edge because it is a bit harder to blend. Apply it very lightly, do not press down. Hold your brush from very back.
Tip:
1. Make sure that your crease shade is below the transition shade.
2. If you have a hard time finding your crease, if you have too many folds in your eye then just feel where your brow bone ends and gets deep into the socket, that is your crease. Use a slightly smaller brush that can fit right into the crease.
3. For the crease brush you have a few different options, this also depends on your eye shape. But you can take a flat but fluffy brush. They are pointed so they fit perfectly into the crease.
4. When you put eye shadow in your crease you should look down into your mirror tilt your head back a little bit.
Step 5: Third shade

Now apply your third shade. Choose the deepest color because this color will create dimension on your eyes, and will make your eyes look more beautiful. You can choose dark brown matte deep shade from the palette to create that dimension. Once you pick that up tap it off, specially with darker shades.
Apply this shade on the outer corner. To get it perfect line up where your brow tail ends and the end of your eye. It is where the dimension color is going to come in, and bring it in. So it will look like a little “V” shape. Apply it back and forth and circular motions. Keep this on the outer part of your eyelid.
Then gradually go in a little deeper. It is getting a little deeper so bring your hand little closer.Take your brush and go side to side and slowly bring it into the outer half of the lid.
Now we are going to more deeper so for that take a flat brush. Take it and apply it on the outer side of your eyelid, because you already have blended this color out pretty well in this area.
Again take back your little brush and use circular motions to blend all the edges out. Use circular, back and forth, whichever you feel more comfortable to blend your eye shadow.
Tip:
1. Dimension means to bring life to the structure of your eyes.
2. As you get darker color, brushes will get smaller.
3. Make sure you use a very light hand and start off very light because this is where it can go really wrong, so make sure you are very light-handed and gradually ease your way into that dimension.
Step 6: Blending
Now you have all three colors on our eyes, so you need one more blend. For that take the same first fluffy brush that you used and lightest shade. Tap into it just a little bit, not too much and then go right above and around. And then apply into inner area and mix really big circles very lightly.
Step 7: Inner third of Eyelid

Now we will go to the inner area like center area of your eyelid. For this area you can use any shade you want but a brighter shade looks better here, it opens the eye. Makes your eyes look pretty and open. You can use sparkly shades, shimmers, foils, matte brightener shades or you can go for more deeper shades to make it smoky and sultry. It is really up to you.
Here you can go for something that is more shimmery and eye-opening like go for shimmer pink color. For this you can use your finger to get the best impact. You can also use a flat synthetic brush or a concealer brush, also wet the brush for more impact. Now pop it on the center area of your eyelid. Don’t go close to the inner area.
For the inner area of your eyes you can use even brighter shade, matte brightener, super light shimmer shade, whatever you want. For that you can use packer brush and take some of the shade you like and apply it in your inner area.
For the very inner corner take a pencil brush and same shade and just apply it in to the inner corner.
Step 8: Brow bone

For brow bone you should use more matte or shimmer, it is up to you.
Next take the brightest shade in the palette and take a small brush for this area. Take a good amount, tap off once because you actually need a nice amount of color there. Now pat the color in and then sweep it back and forth. It will cleans up the whole entire look and make it look a lot neat. To get the perfect shape follow the bottom of your brow shape.
For the last step take the crease brush because wherever color you had used is on it and take the transition shade. So, you will have both of that color on your brush. Then sweep that right underneath of your lash line and match it to the end of your eye look. This is going to tie the entire look together and complete your eye shadow look.
At the end to complete you look put on some mascara and eye lashes.
Conclusion:
So here is the step by step guide for the eye shadows. This is going to take practice. Obviously you are not going to get it overnight but if you keep doing these steps over and over again make sure that you are doing all of these little techniques. You are going to be good at your eye shadow. You are going to be your own professional celebrity makeup artist.
